June 2018
Project Layout
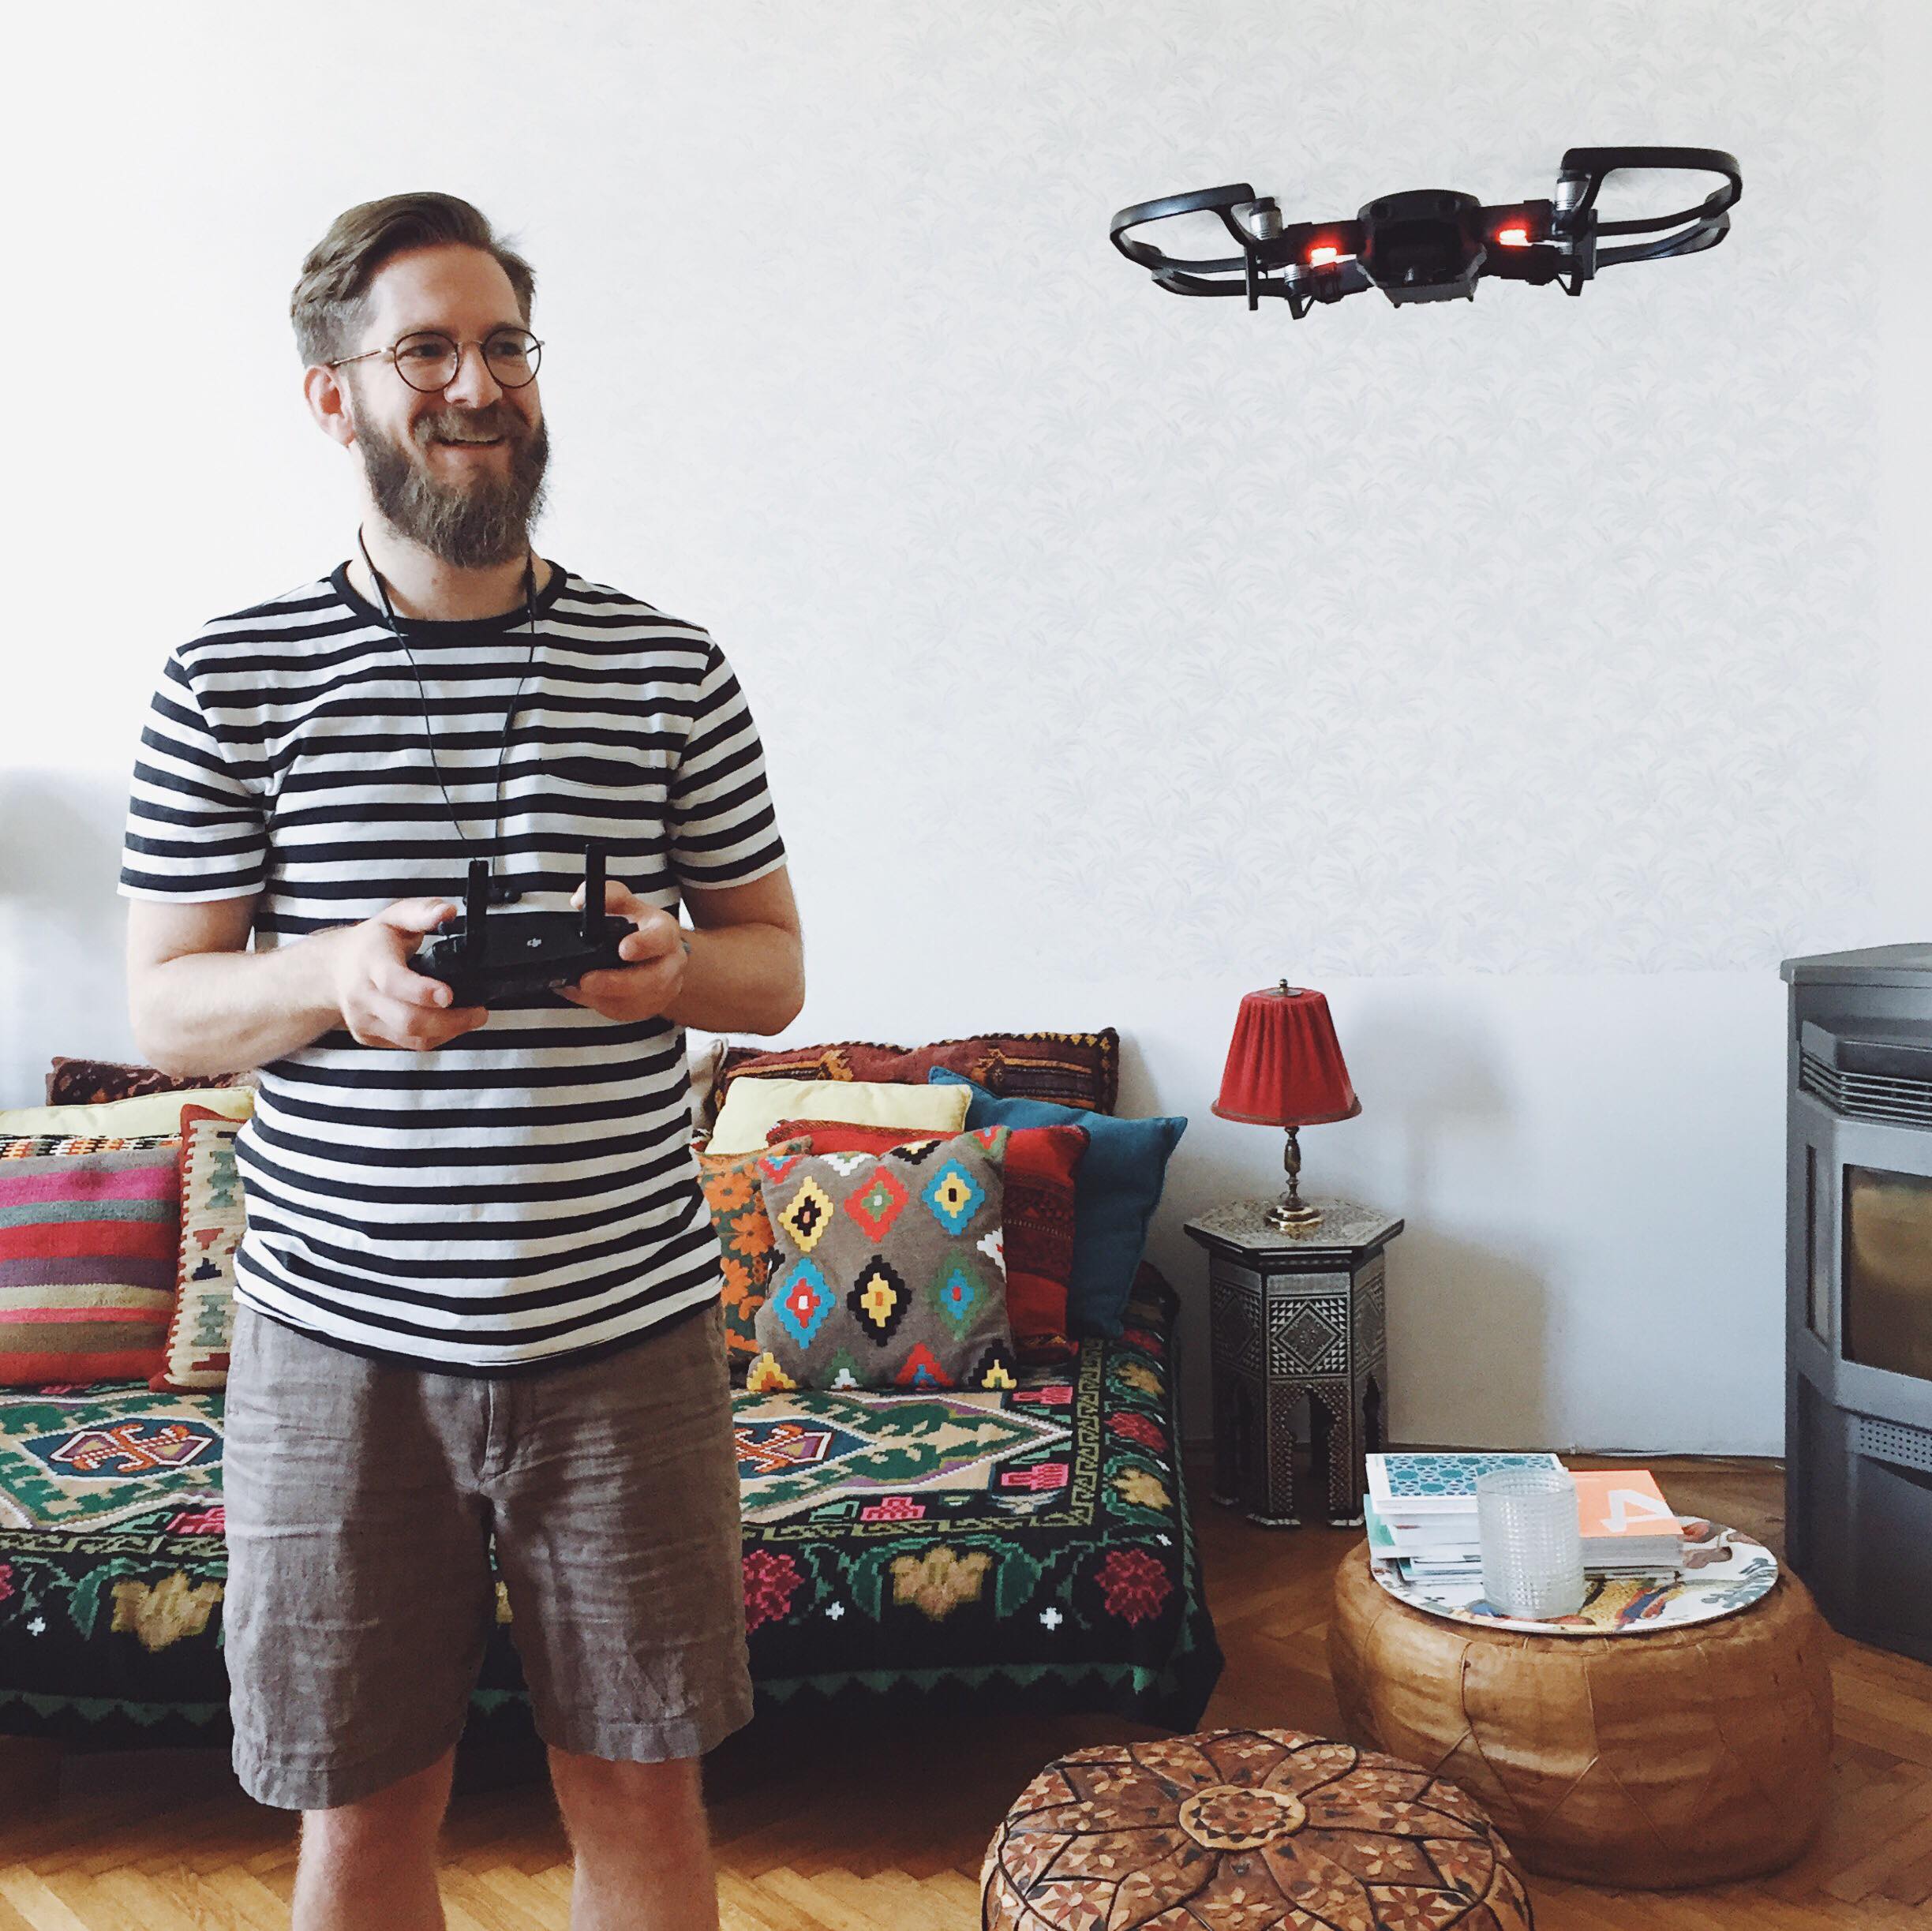
DRONES! They are the hot shit right now, right? There are countless Instagram posts of beautiful aerial views and vidoes, fun effect shots, and some really cool commercial use of course. Since I am always a fan of tools that widen your potential, I had a craving for a drone for a while. For the longest time though I didn’t feel that I would really make good use of it. But when I realized that drones are by now easier to use than ever, I figured “why not also use it indoors”. I know I’m not the first one to do so, but giving my focus on Interior Photography, it made sens to give it a try.
Introducing – Project Layout (Work in Progress)
Project Layout
DRONES! They are the hot shit right now, right? There are countless Instagram posts of beautiful aerial views and vidoes, fun effect shots, and some really cool commercial use of course. Since I am always a fan of tools that widen your potential, I had a craving for a drone for a while. For the longest time though I didn’t feel that I would really make good use of it. But when I realized that drones are by now easier to use than ever, I figured “why not also use it indoors”. I know I’m not the first one to do so, but giving my focus on Interior Photography, it made sens to give it a try.
Introducing – Project Layout (Work in Progress)
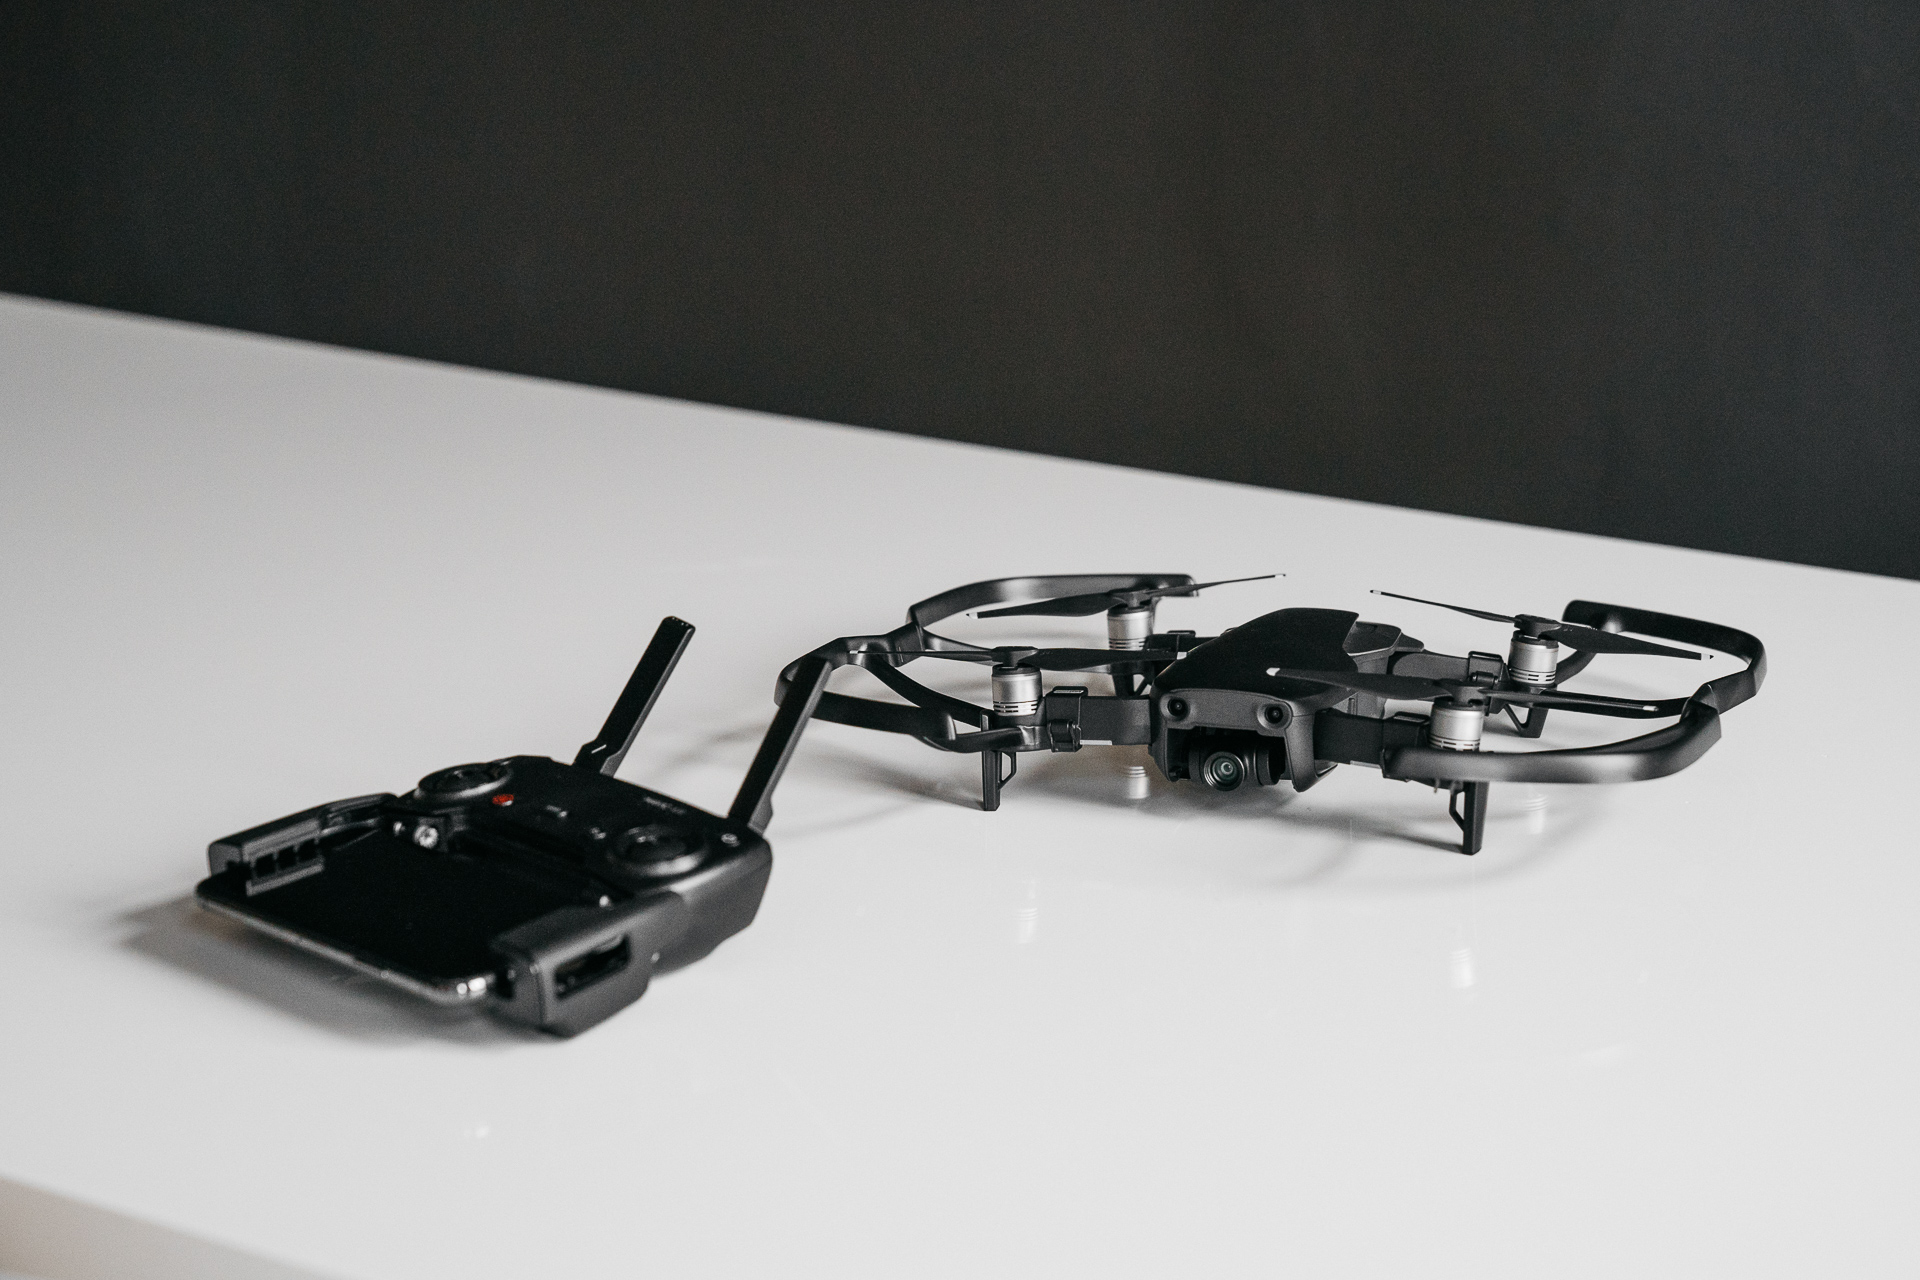
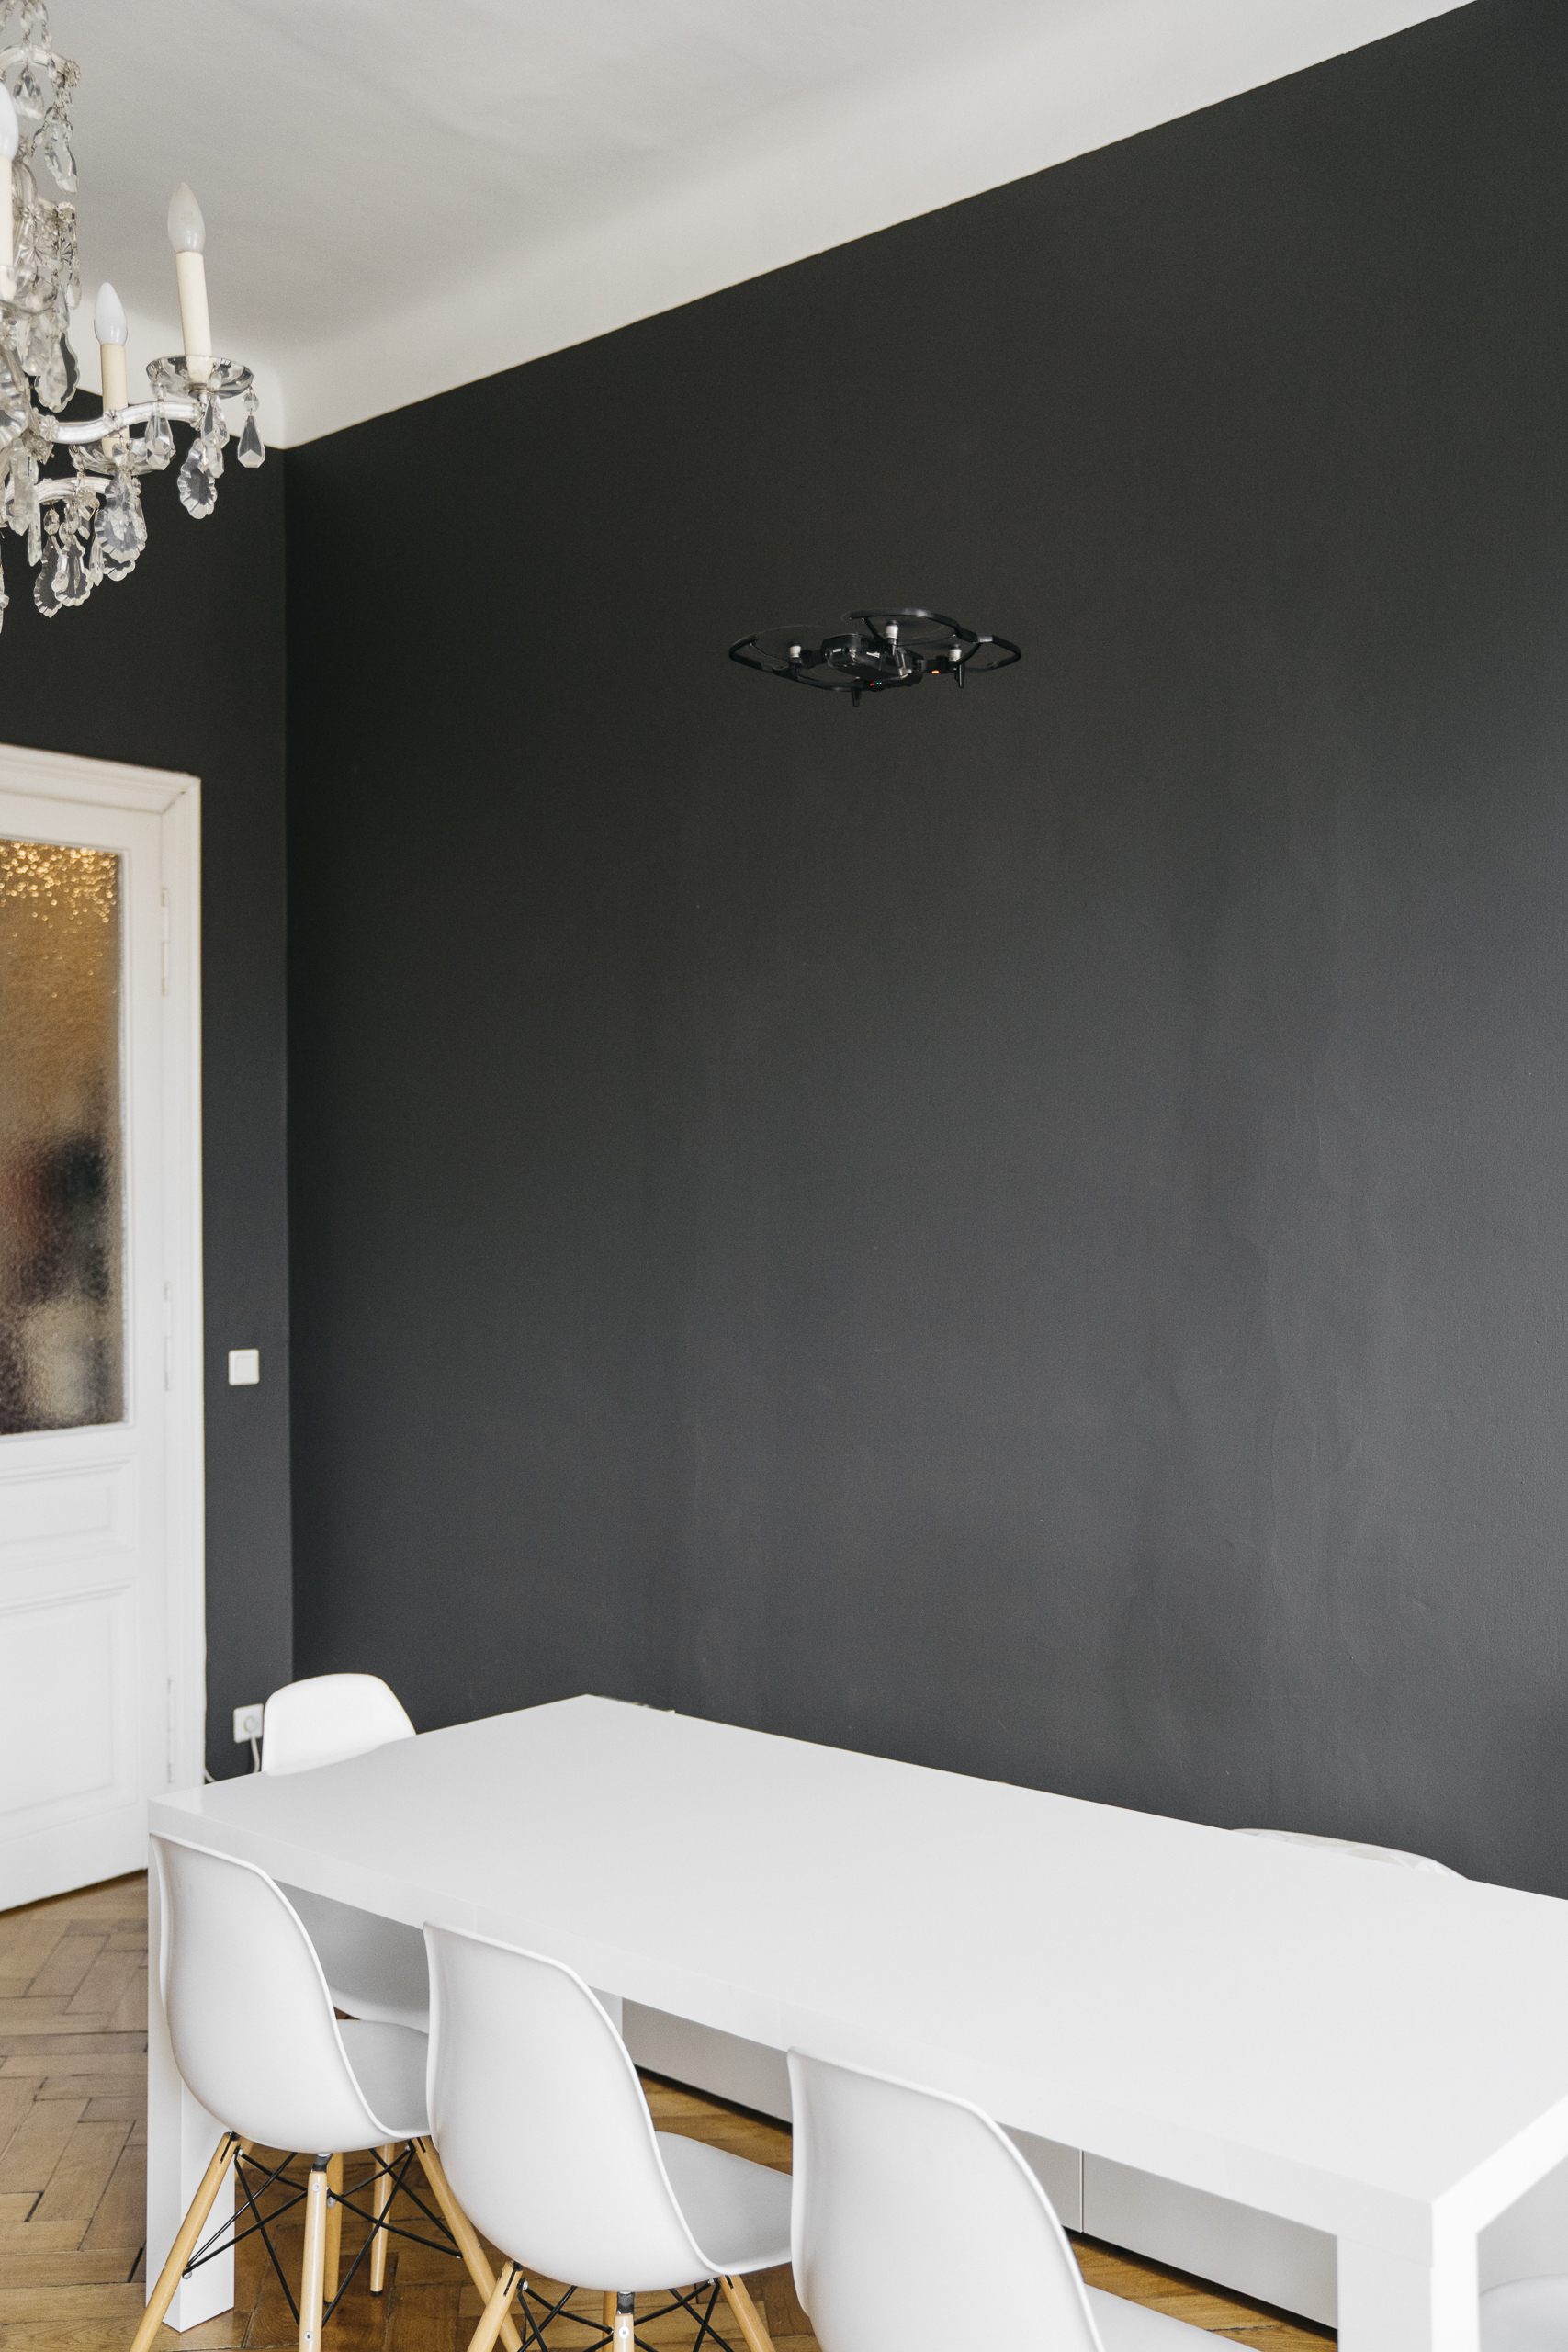
What I learned so far is that flying indoors definitely requires some skills in steering your drone. I chose the DJI Mavic Air because it has very good anti-collission features. But when I flew for the first time indoors, the “obstacles” were just too close all the time. So I ended up using the drone without that safety feature.
What was essential though was using the safety guards around the propellors – my wall would look very different already if I didn’t use them.
Also a challenge is the push back from the wind the drone creates itself. Outdoors the air stream can just vanish, but in a room it bounces back and creates constant drafts.
Also a challenge is the push back from the wind the drone creates itself. Outdoors the air stream can just vanish, but in a room it bounces back and creates constant drafts.
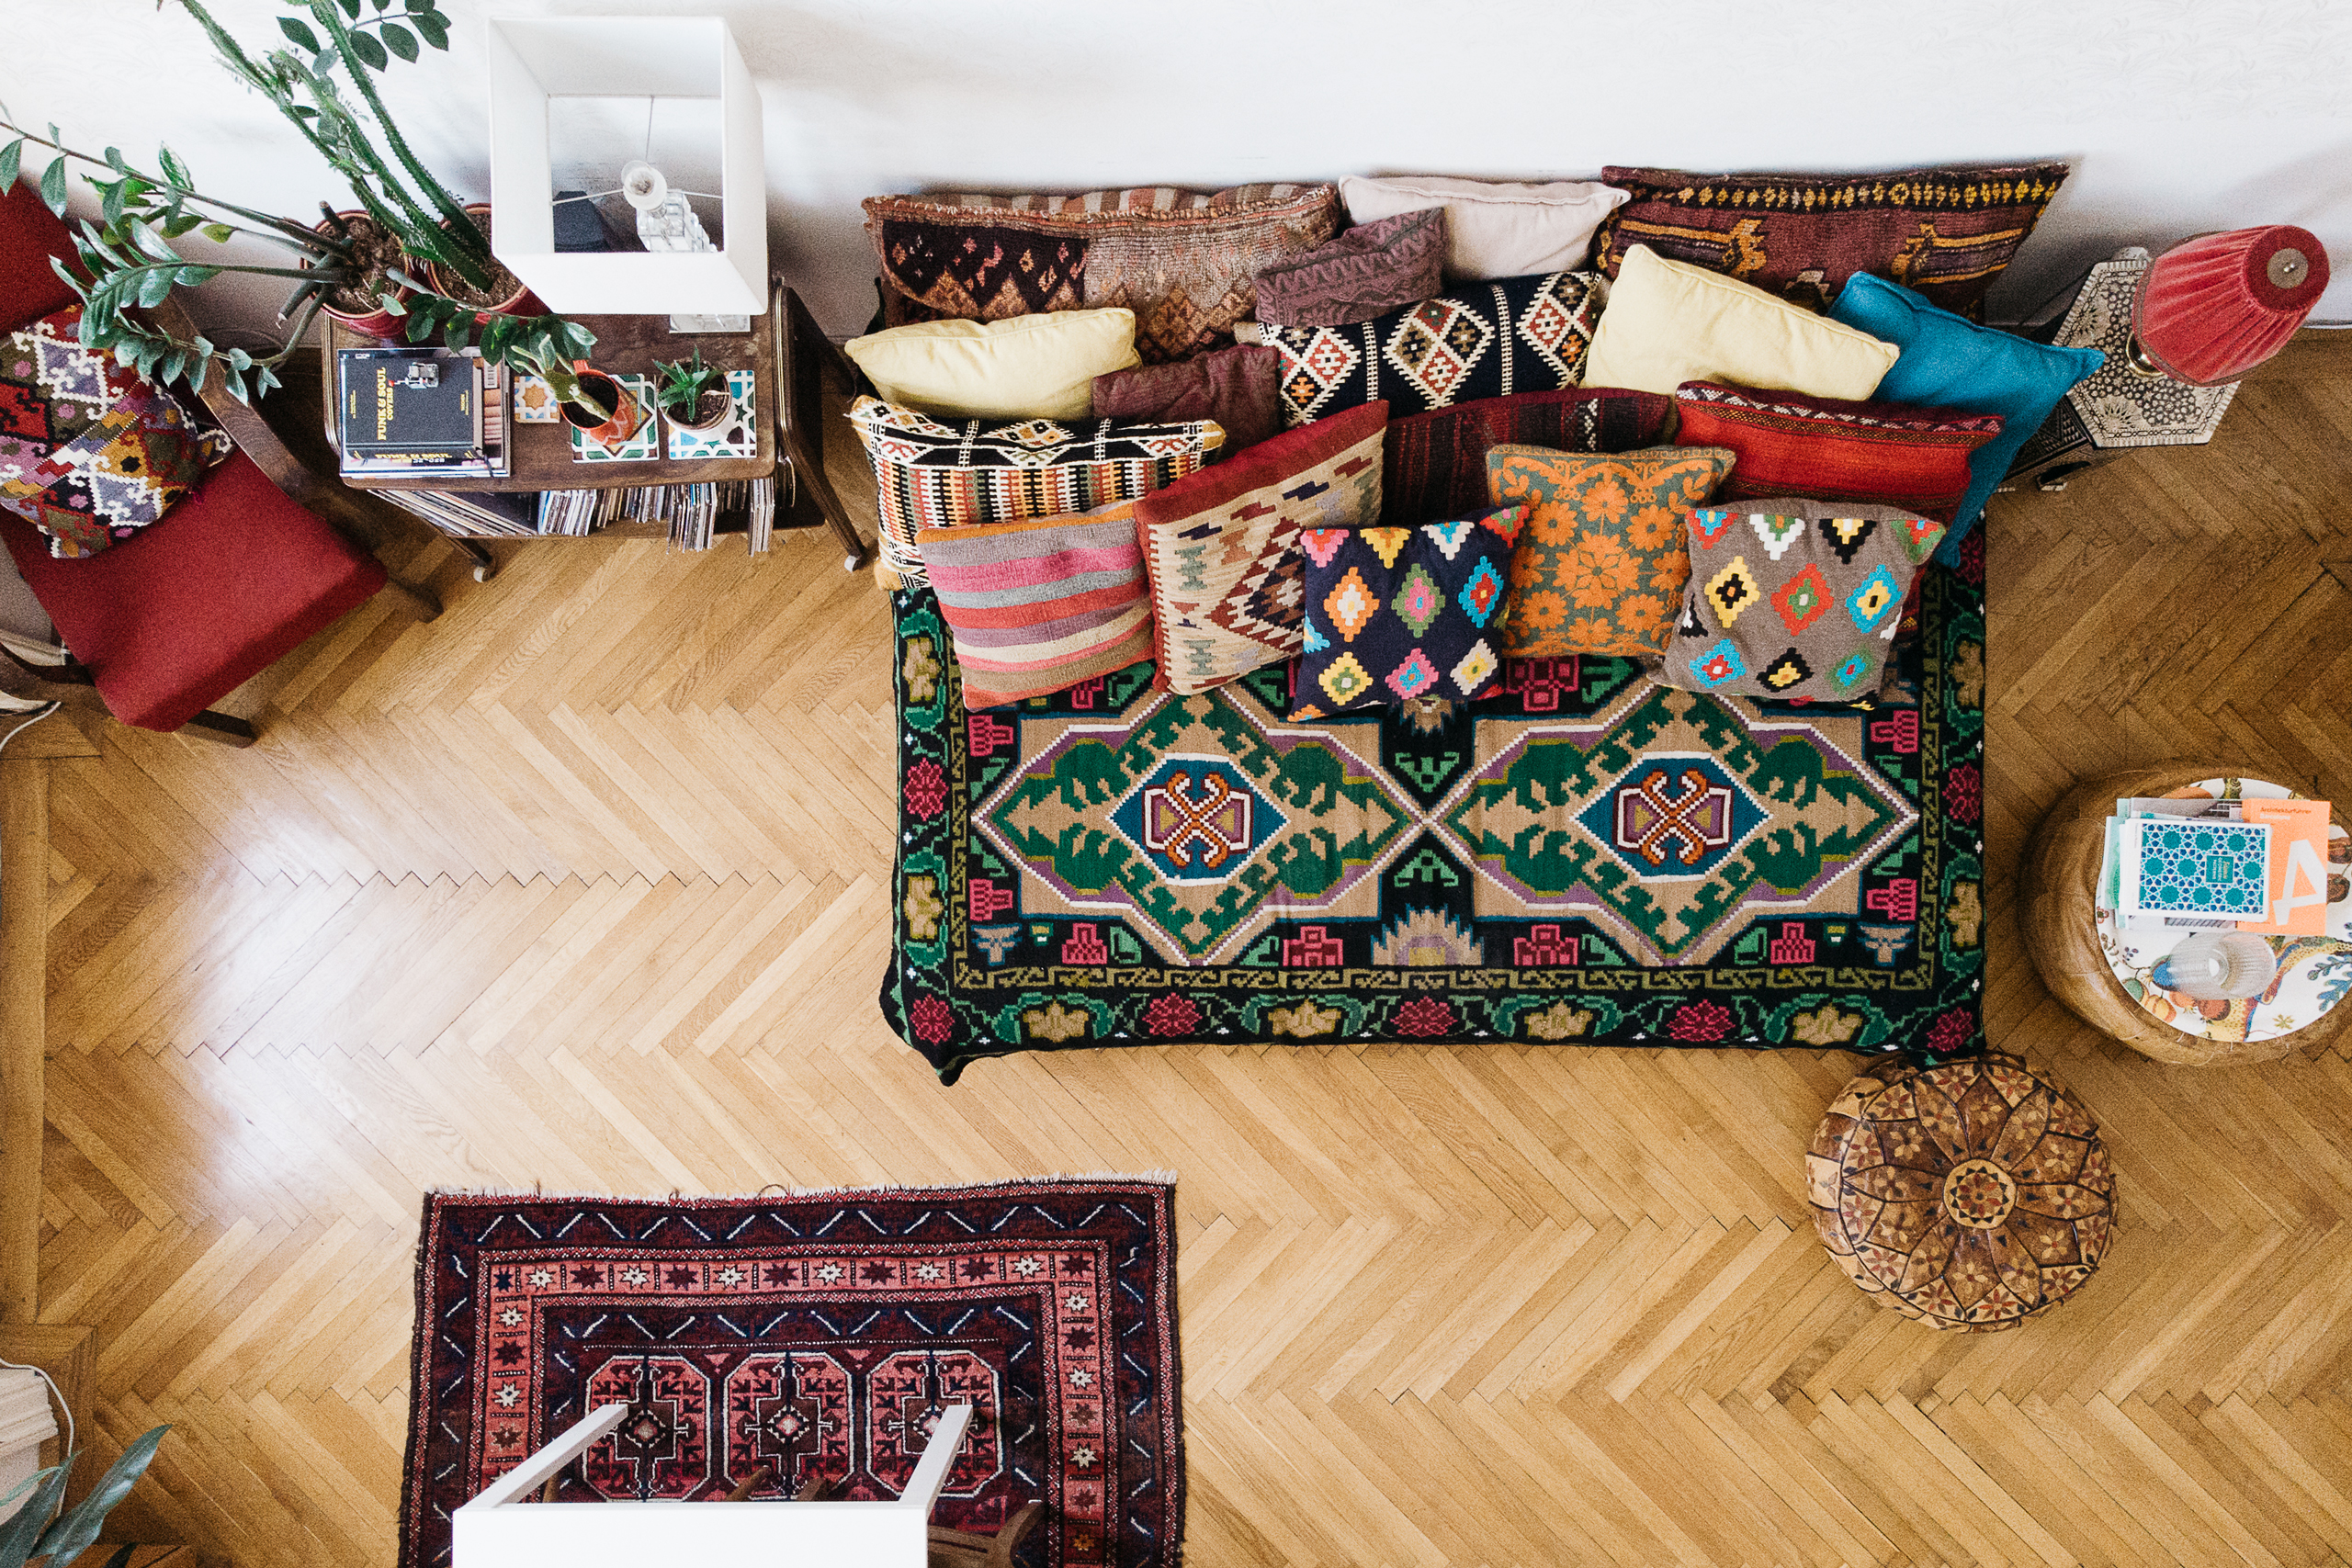
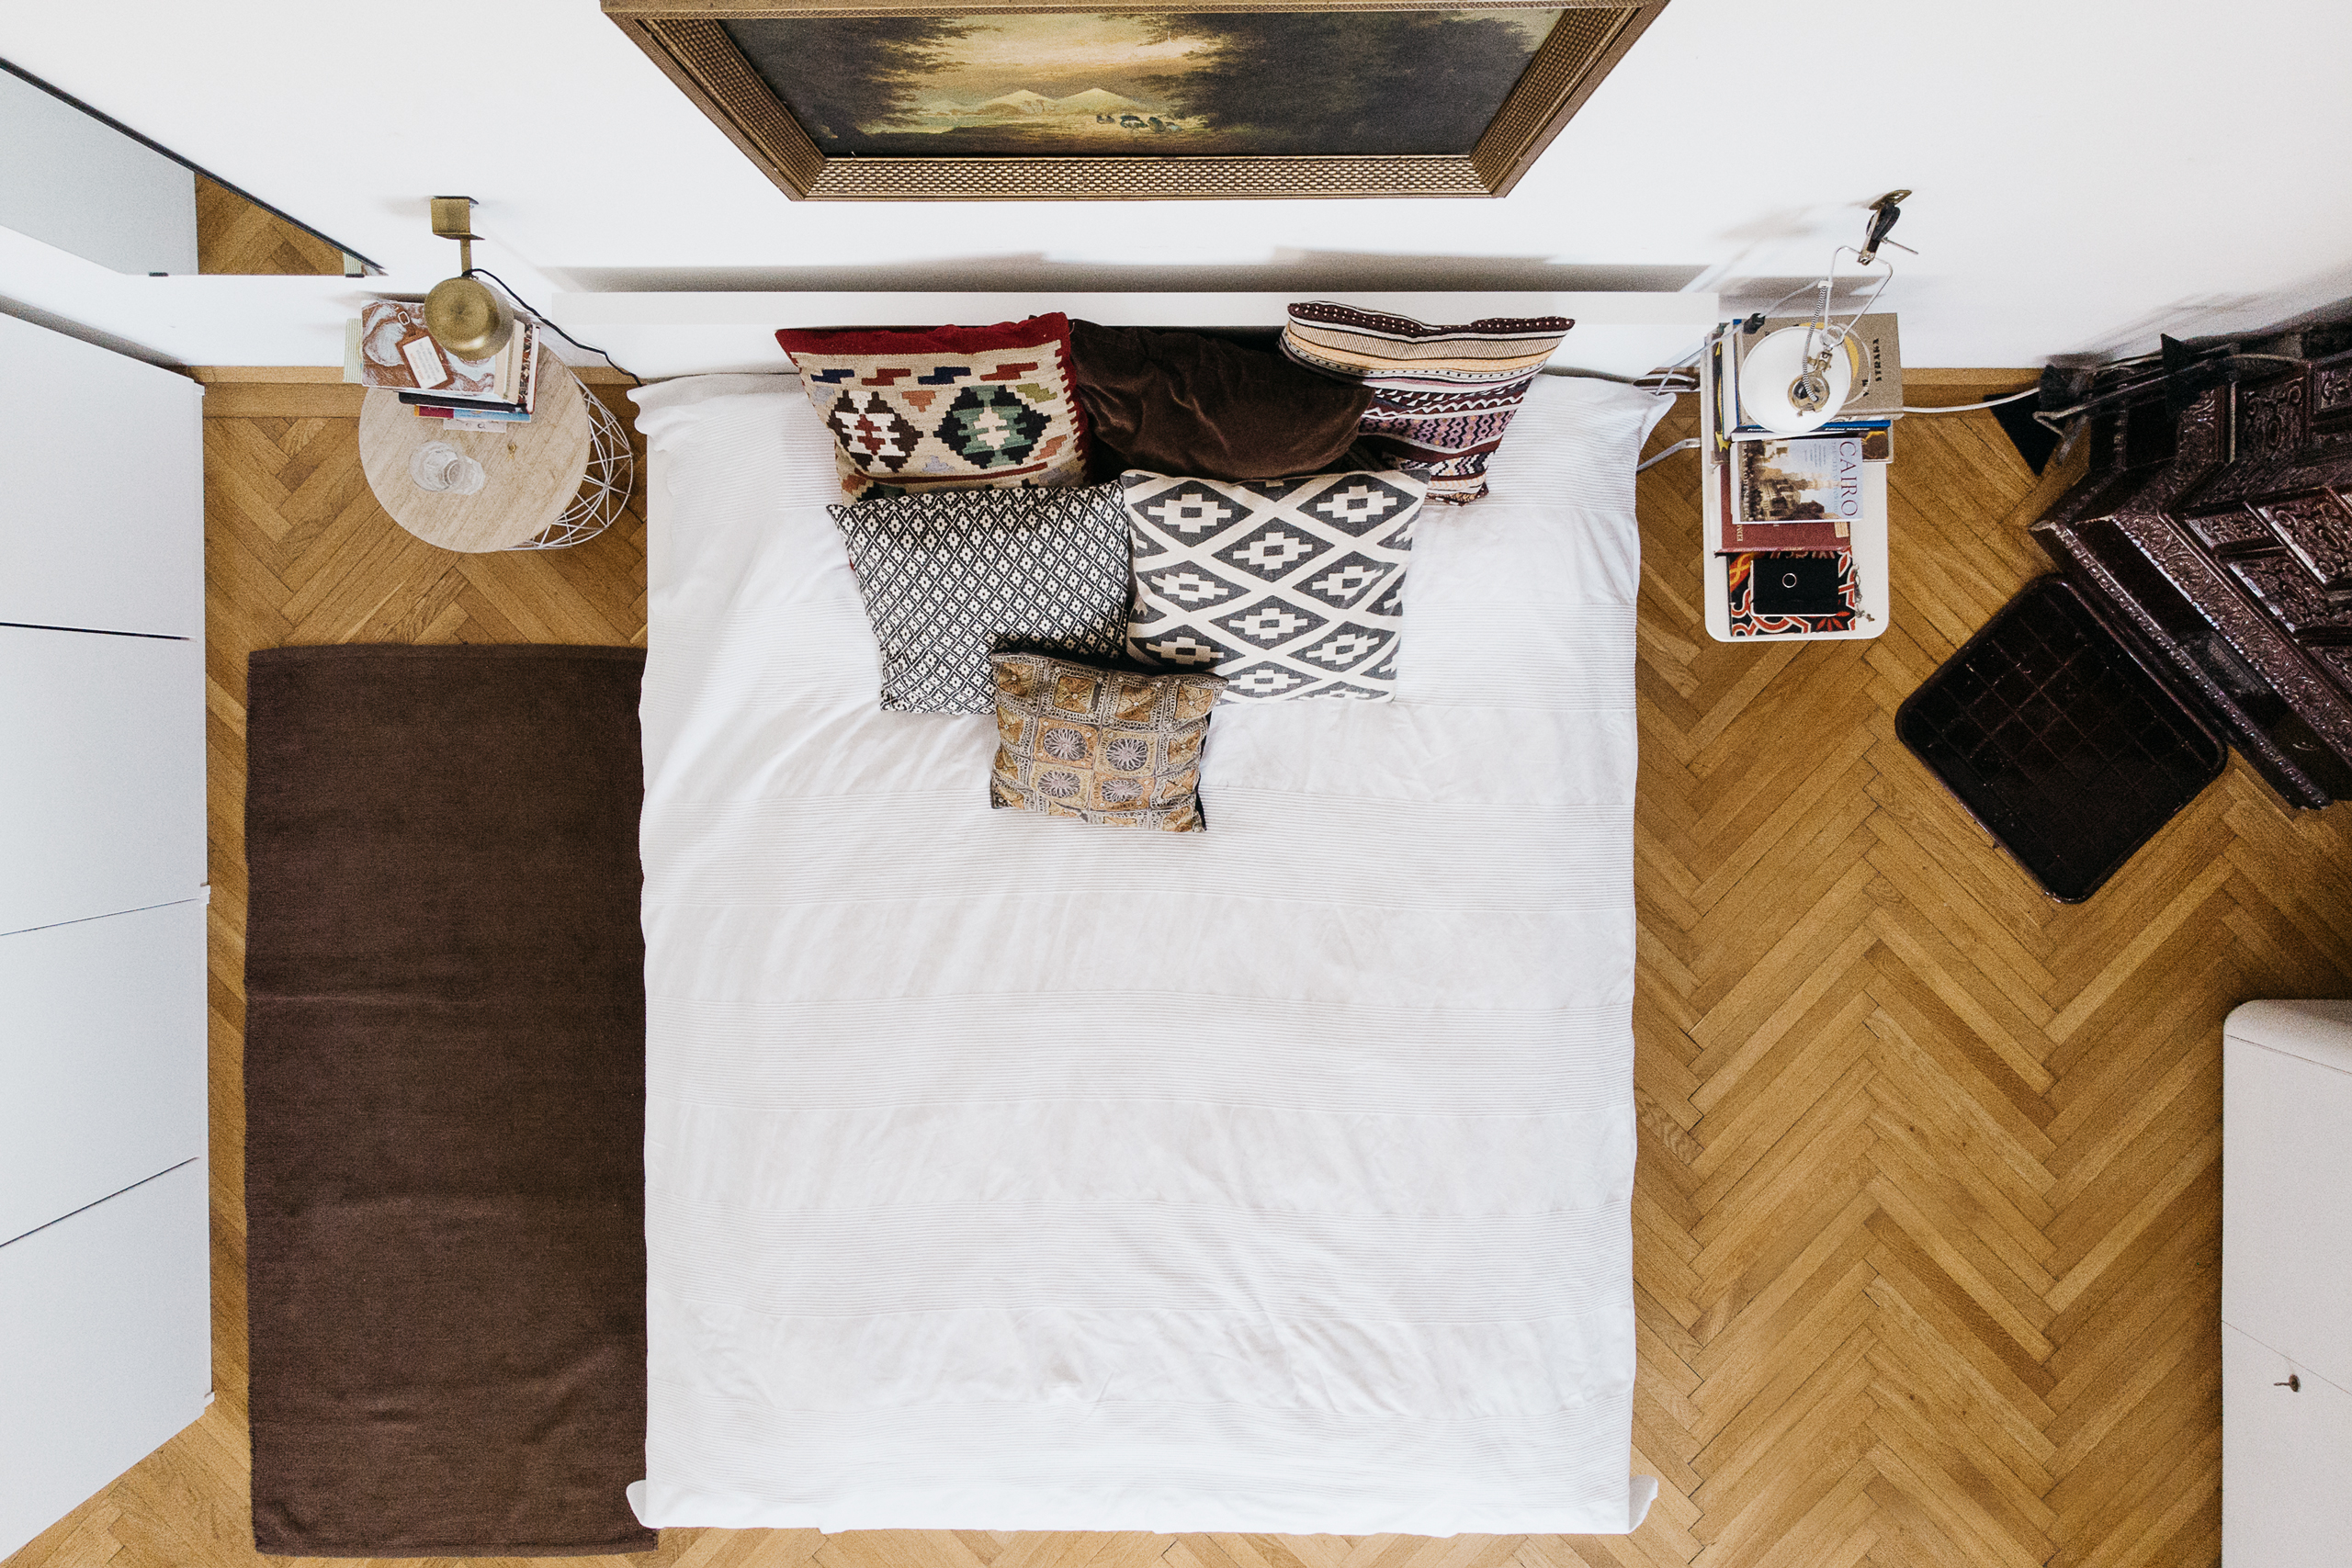
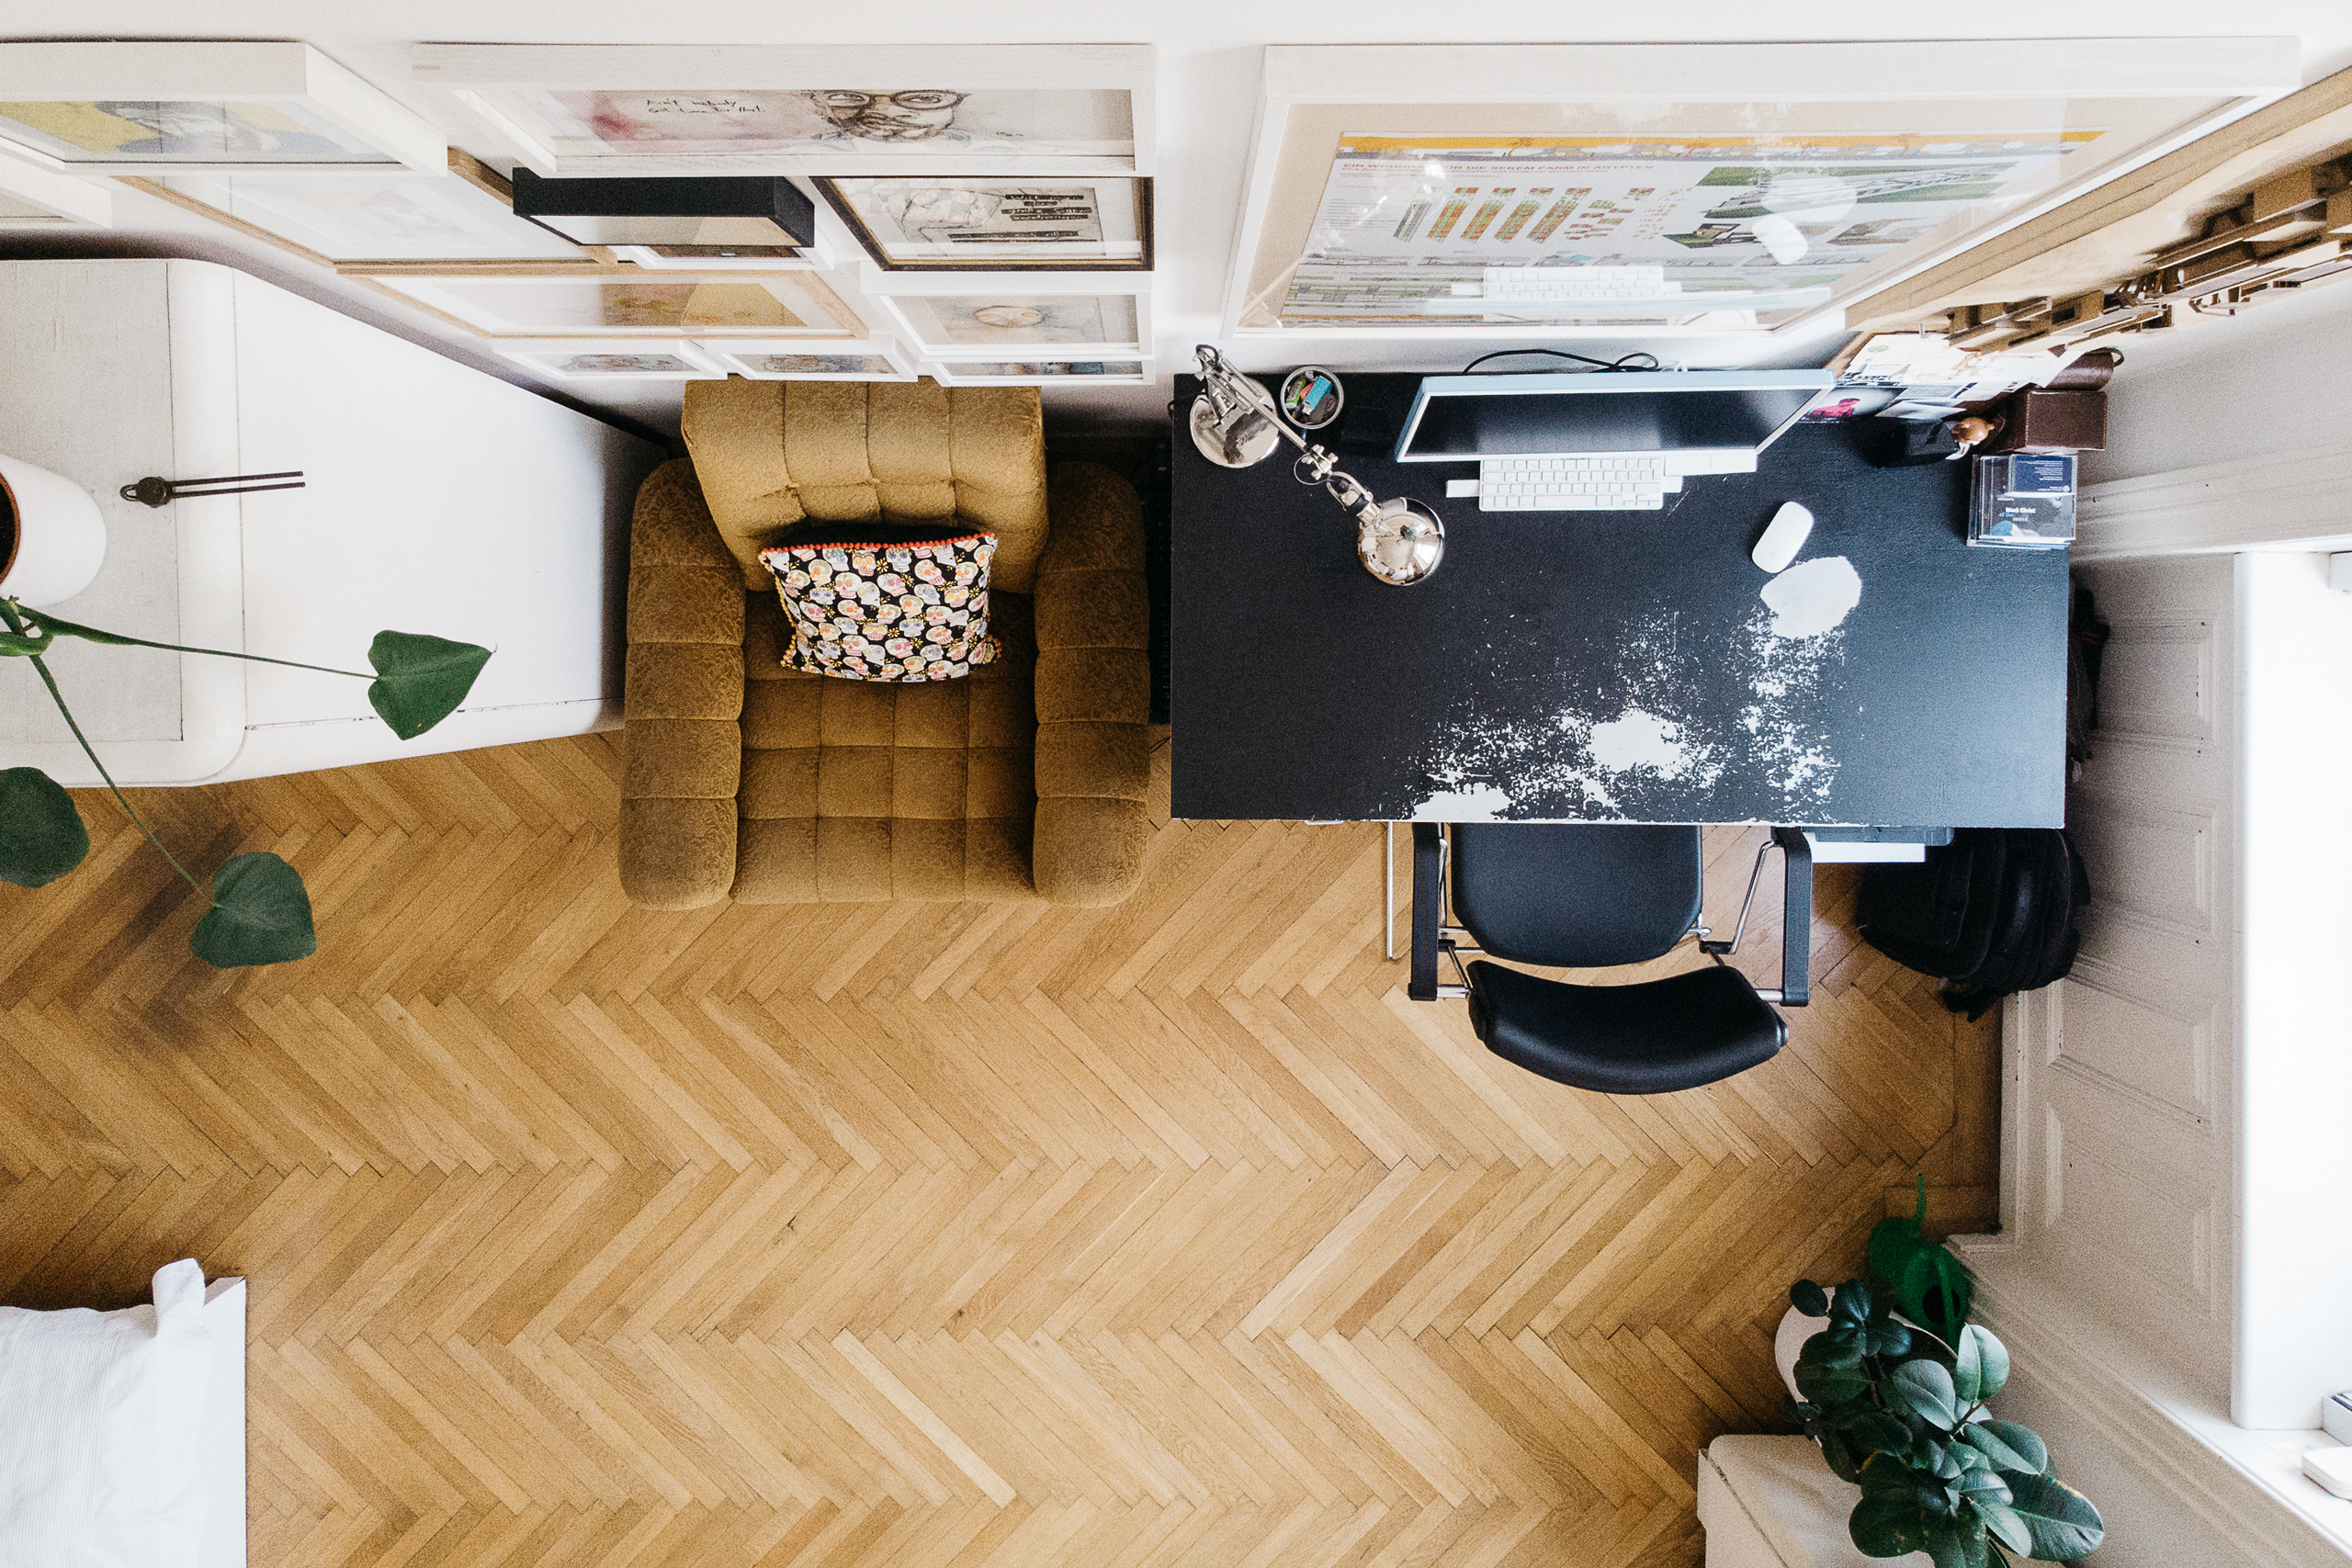
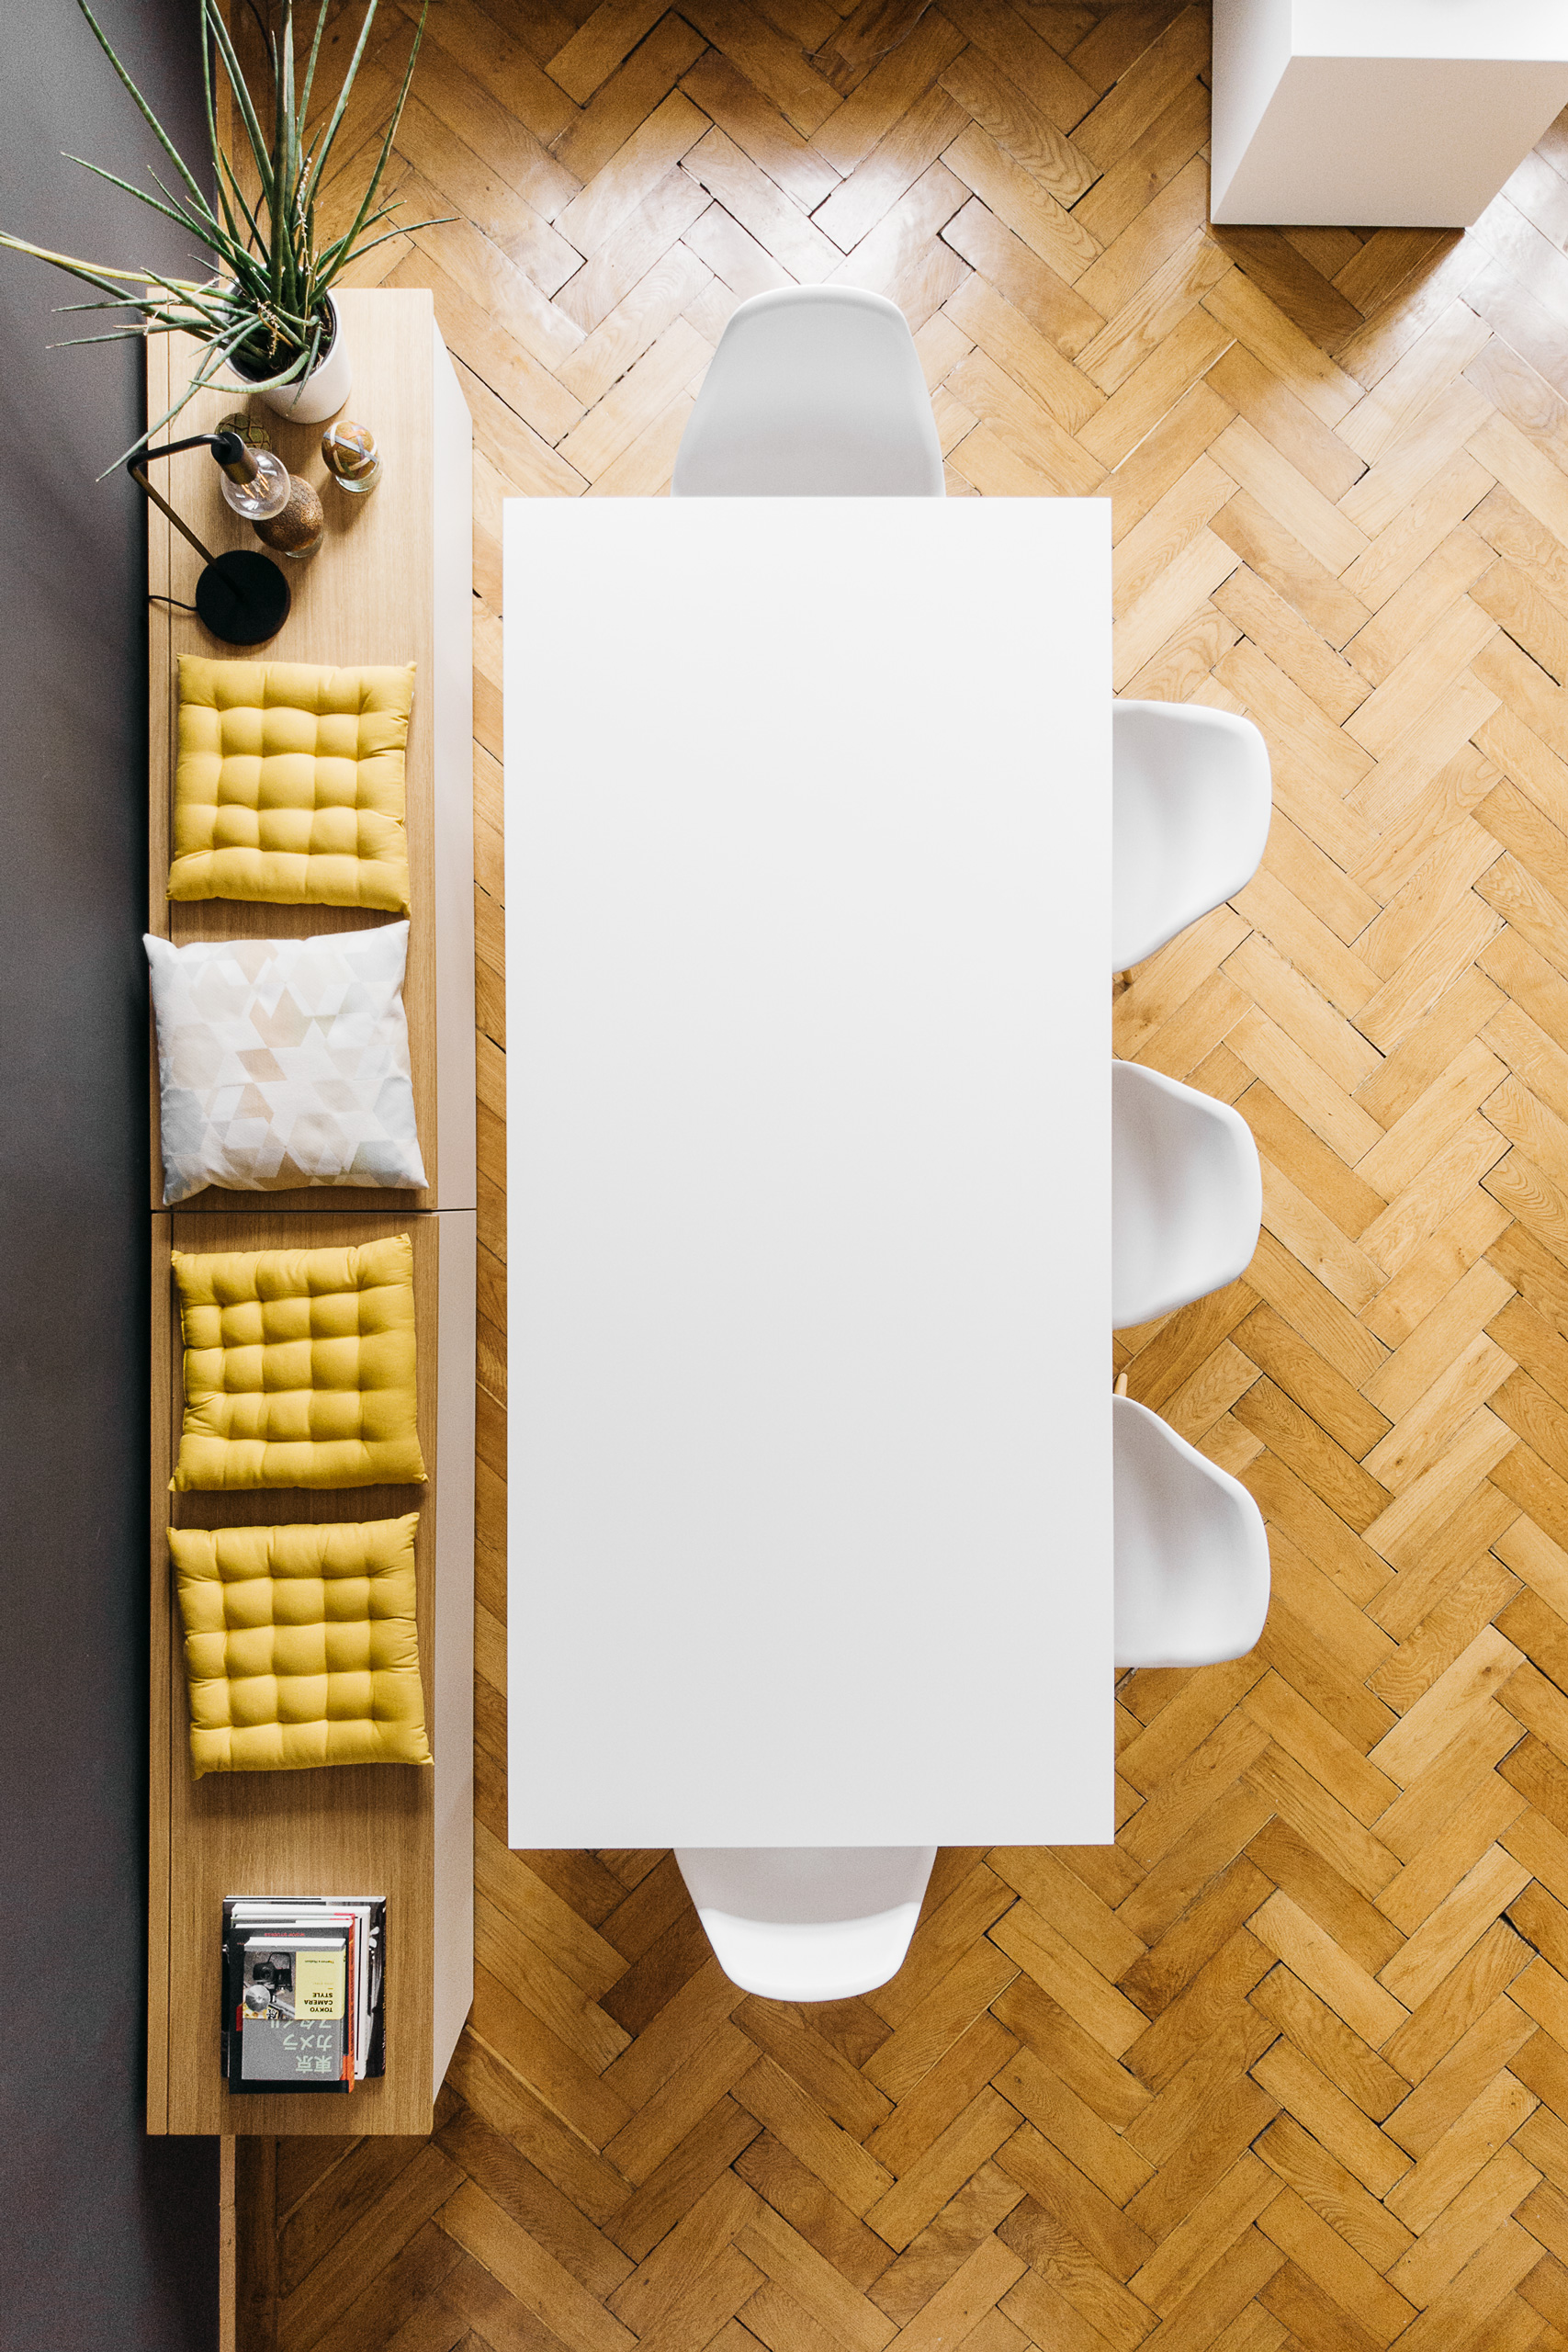
My main interest using the drone is shooting still images. I knew I have to work with some restrictions, the biggest one is that the camera has a rather small sensor and only shoots 12 MP. But the RAW files are actually holding up quite well in Lightroom. The right light situation and camera settings are crucial.
In the beginning I was definitely overwhelmed flying the drone (mind you – with no safety features on) and finding the right settings of the camera at the same time. But the first few shots turned out quite ok! I printed them at 18x13cm and the images came out crisp. For online and social media use the picture quality is absolutely fine.

Update
(2018-06-12)
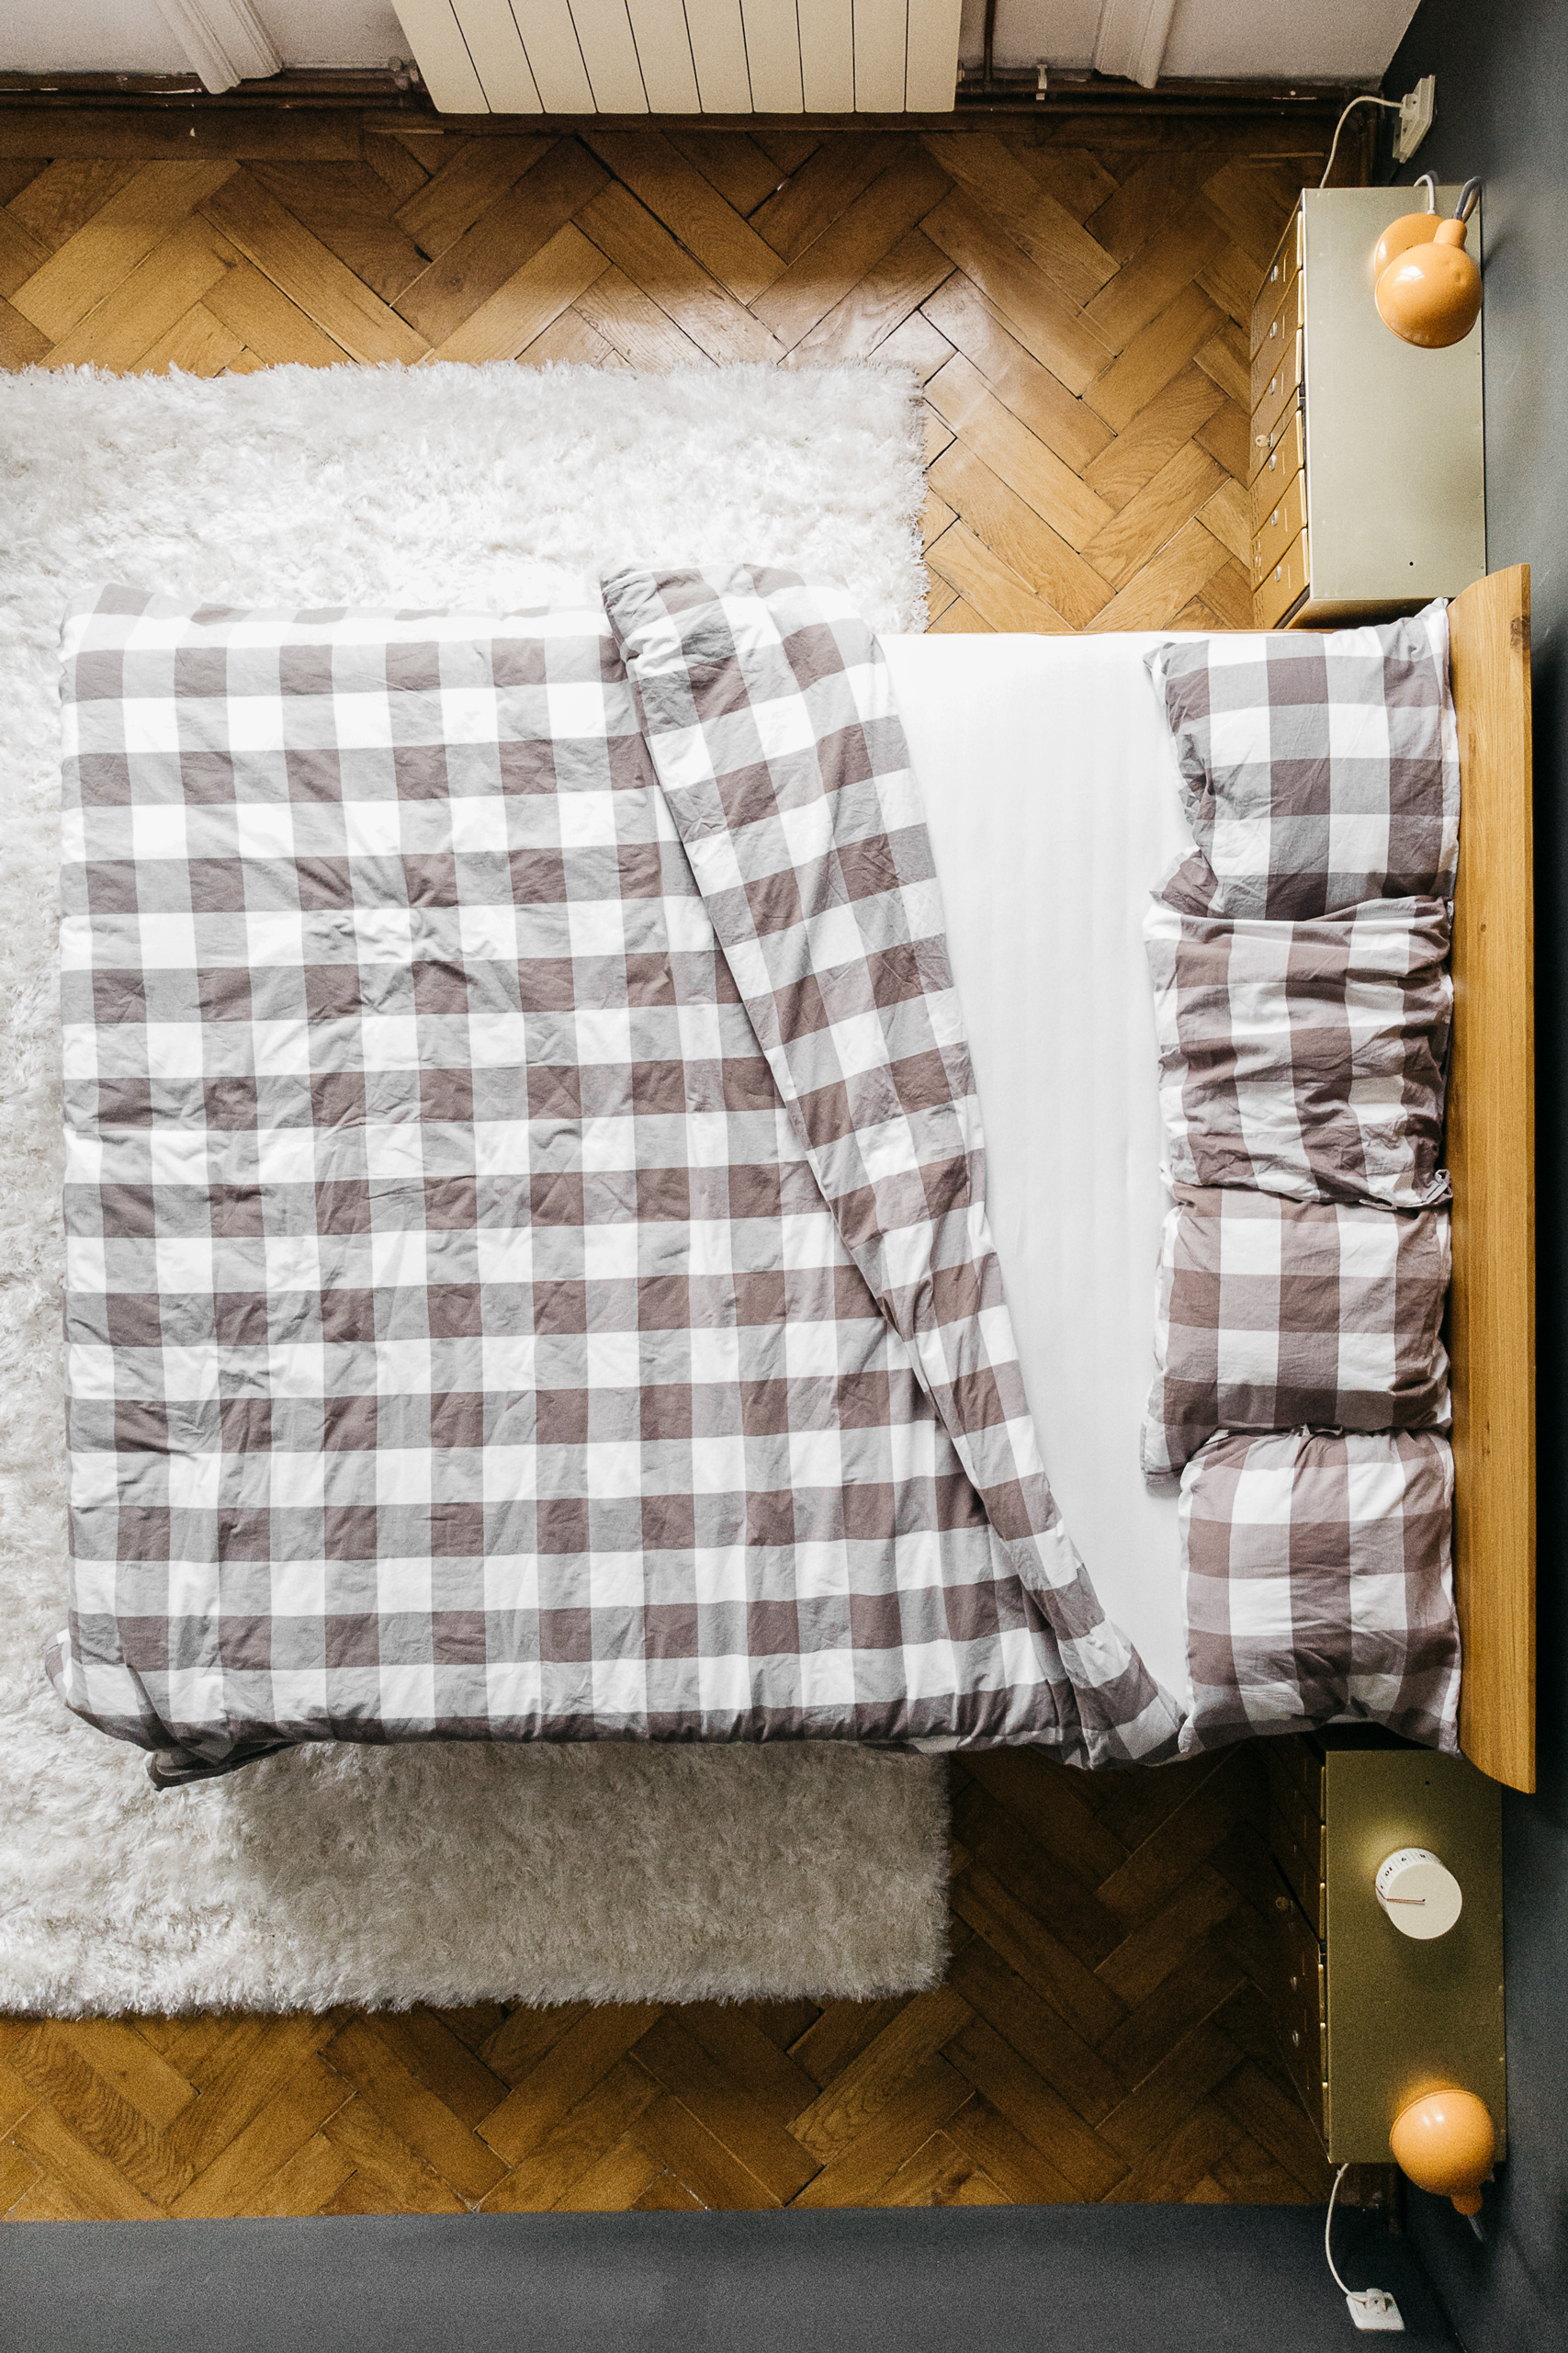
I flew the drone at another apartment. This time I tested pushing the ISO (at 800 it still looks ok) and to gain more experience in filming as well. The teaser on top of this post shows that the video is ok for online and social media use. But the rather low light situation indoors brings the tiny camera on the Mavic Air to its limits.
So far I shot in 120fps 1080p to have a smoother movement. I will also try shooting 4k and downsampling it to HD, which probably will save more details. But I also would have to fly less shaky … and I don’t know if I can do that indoors (yet!).